

Managing add-ons
Creating an add-on
You'll find add-ons under Season > Add-ons, where you can create, edit, and organize everything families see during enrollment. Click Add add-on to get started. You'll configure a Name that families see during enrollment (e.g., "Spending Money Account" or "Transportation"), an optional Description with more detail about what's included, a Price, and a Tax rate if sales tax applies.
Session, session group, and camper group eligibility
You can restrict an add-on to specific sessions, session groups, or camper groups. Sessions and session groups are independent lists - naming sessions doesn't change who a session group restriction reaches, and the reverse is also true. So an add-on scoped to a session group (e.g. "Full season") only reaches the families who bought that group, not the ones who picked its sessions individually - and an add-on scoped to individual sessions won't reach a group buyer unless you also select their group. Leave an axis unchecked to keep the add-on available to everyone on that axis. This means families only ever see add-ons that are relevant to the sessions, session groups, and camper groups they're enrolling for.
Options
A few toggles give you control over how the add-on behaves. Show to parents controls whether the add-on appears for families at all, including on their billing page after enrollment. Show during enrollment (available once "Show to parents" is on) controls whether it's offered during checkout. Required - available only when the add-on is shown during enrollment and has no capacity limit or purchase cut off date - means the add-on is pre-selected and cannot be removed by the parent. Exclude from discounts ensures no discount codes or automatic discounts apply to this particular add-on.
Capacity
You can set a capacity limit on any add-on to cap the total number of campers who can select it. Once the limit is reached, the add-on shows as sold out in the enrollment flow and can no longer be selected by families.
Managing your add-ons
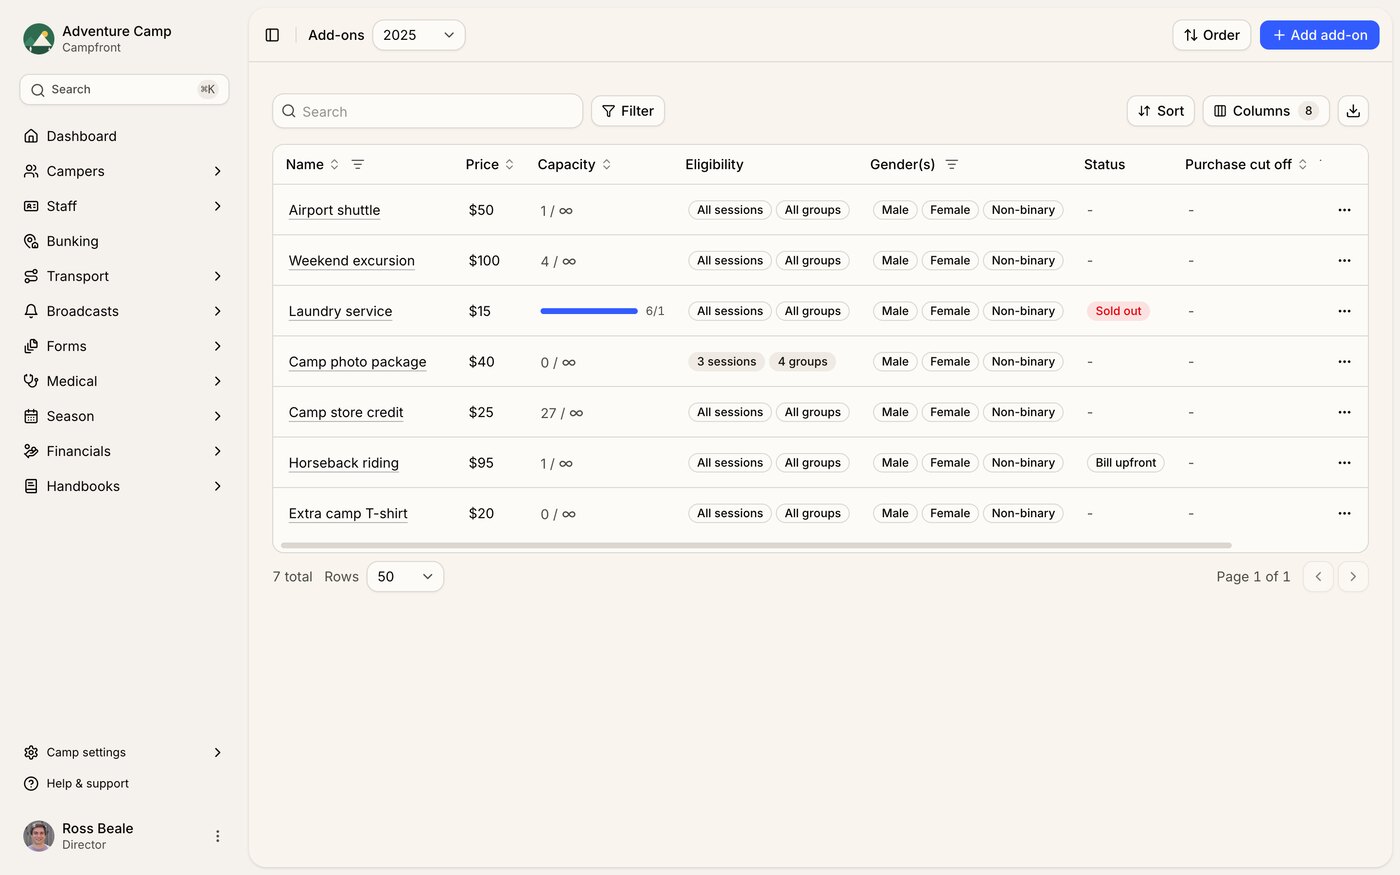
The add-ons table gives you an at-a-glance view of everything you've set up. Each row shows the add-on's name and description, its price, eligibility badges for session, session group, and camper group restrictions (or "All sessions" / "All session groups" / "All groups" if unrestricted on that axis), status badges indicating whether it's required, hidden, or non-discountable, and the date it was created.
Use the action menu on any row to Edit, Duplicate, or Delete an add-on. Deleting keeps any existing purchases intact.
How add-ons work during enrollment
Families see available add-ons during the enrollment checkout flow. Required add-ons are automatically included and can't be removed, while optional ones can be selected or deselected. The cost of any selected add-ons gets added to the enrollment total.
Because eligibility is evaluated against the sessions or session groups a family selected, and their camper's group, families only see what's relevant to their enrollment - keeping the experience clean and straightforward.
Adding add-ons after enrollment
Families can also add items after enrollment is complete. From the billing section of the parent portal, they can browse and select any available add-ons they didn't choose during checkout, without needing to contact your team. Any add-ons purchased post-enrollment are added to the family's balance and appear in their payment schedule alongside existing payments.